Get a photo under 200 KB for a form, on a Mac
Updated 14 November 20263 minute read
The short answer
Drag the photo up to the notch and let go on Under 200 KB. A new JPG under 200 KB appears beside the original, and you drag it from the notch straight into the form. The same tile has 50 KB and 1 MB.
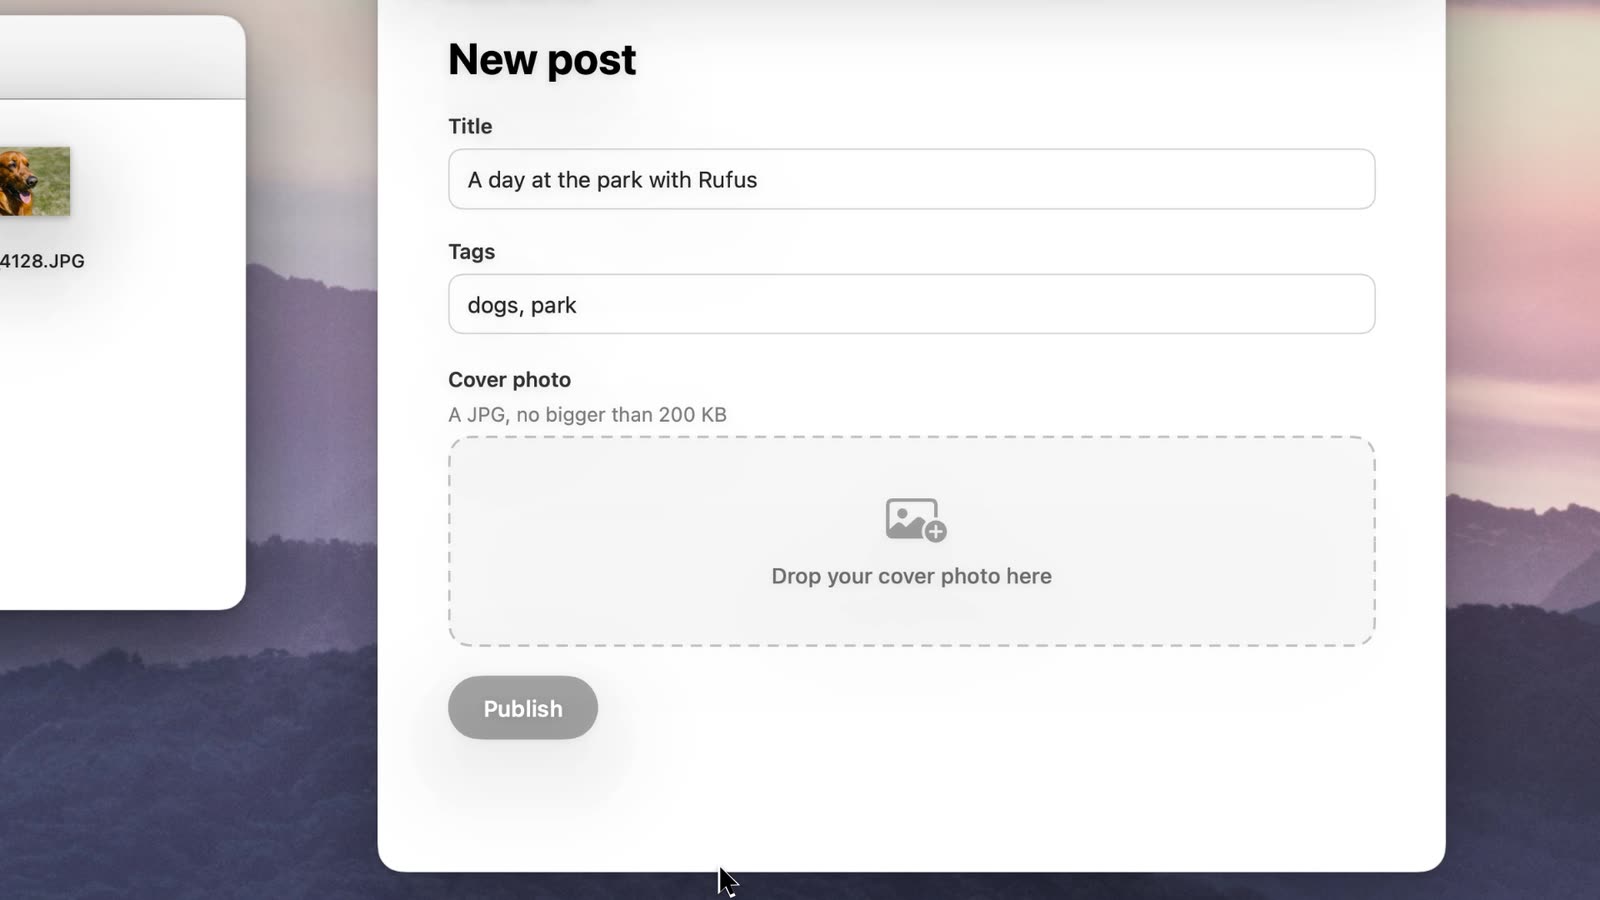
Steps
- Find the photo in Finder. A HEIC straight from an iPhone is fine, and so is a PNG or a JPG that’s too big.
- Drag it up to the notch. The notch opens with the jobs for a photo.
- Point at Under 200 KB. To pick another limit, move along the choices at the foot of the tile: 50 KB, 200 KB or 1 MB.
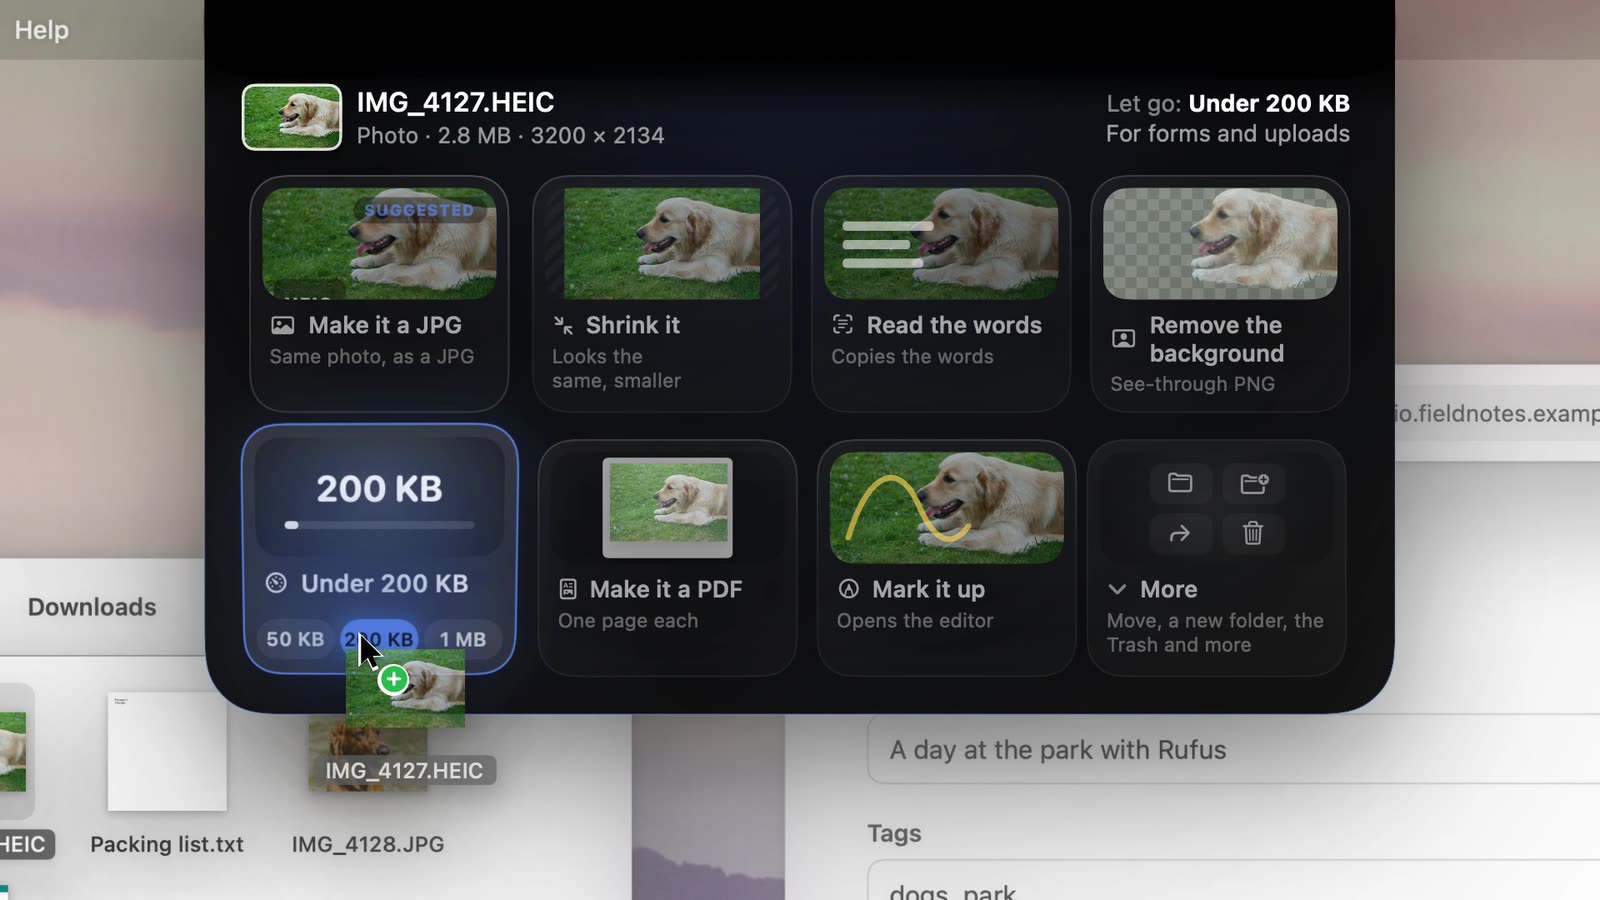
The top right says “Let go: Under 200 KB. For forms and uploads.” - Let go. A new file appears next to the original, named like IMG_4127 under 200 KB.jpg, and the notch shows both sizes.
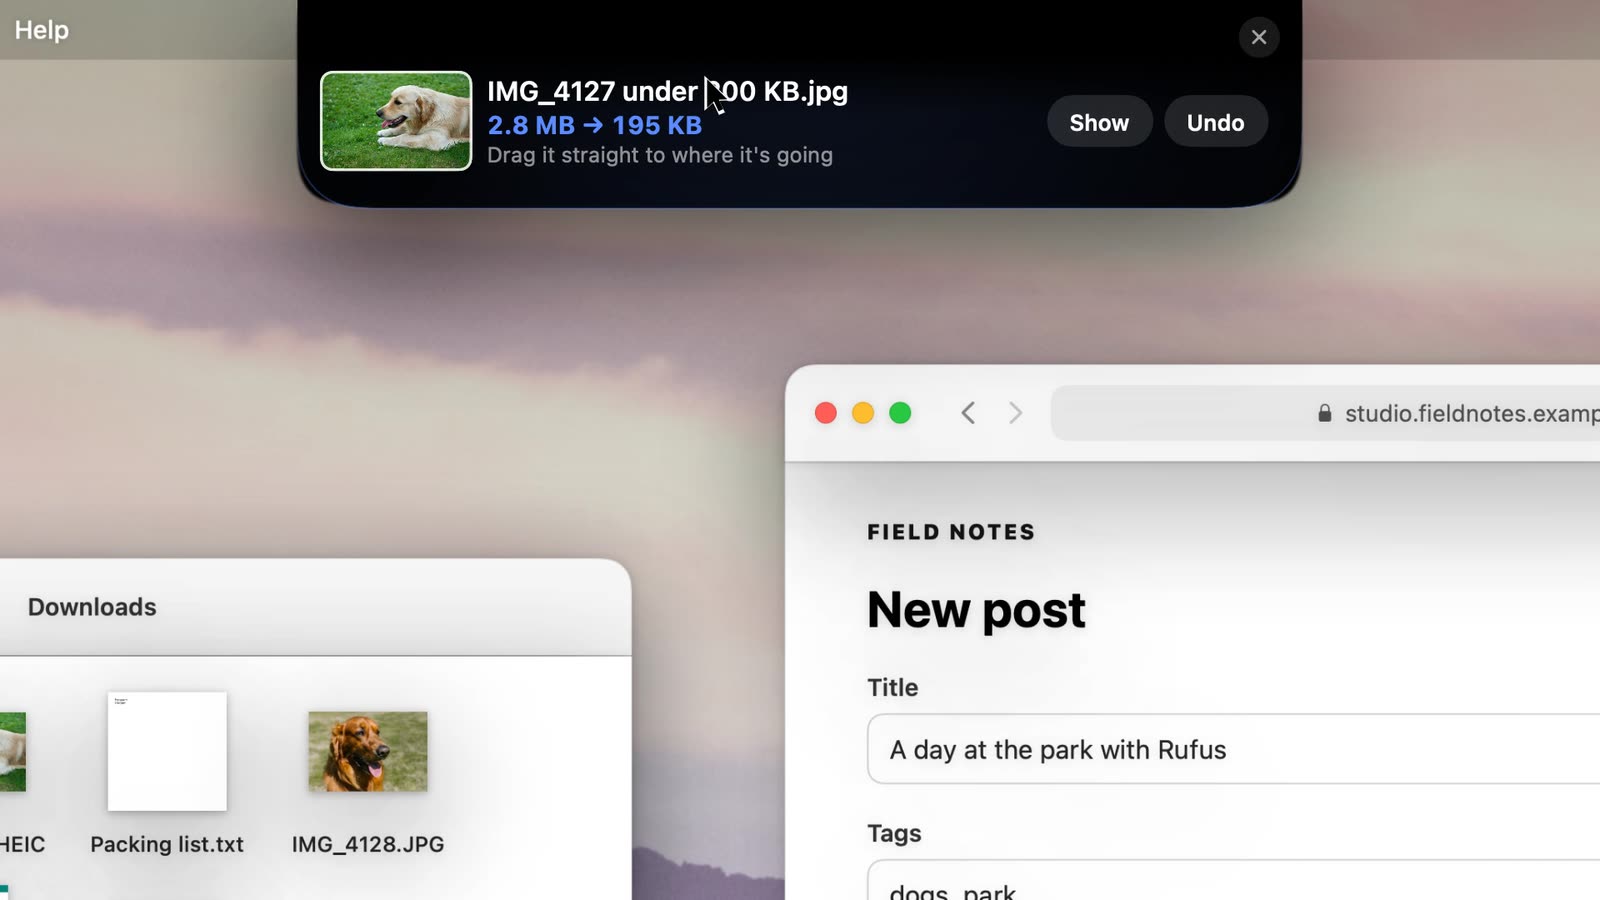
2.8 MB → 195 KB. The original HEIC is still there, unchanged. - Drag it into the form. Drag the new file from the notch straight onto the form’s upload box.
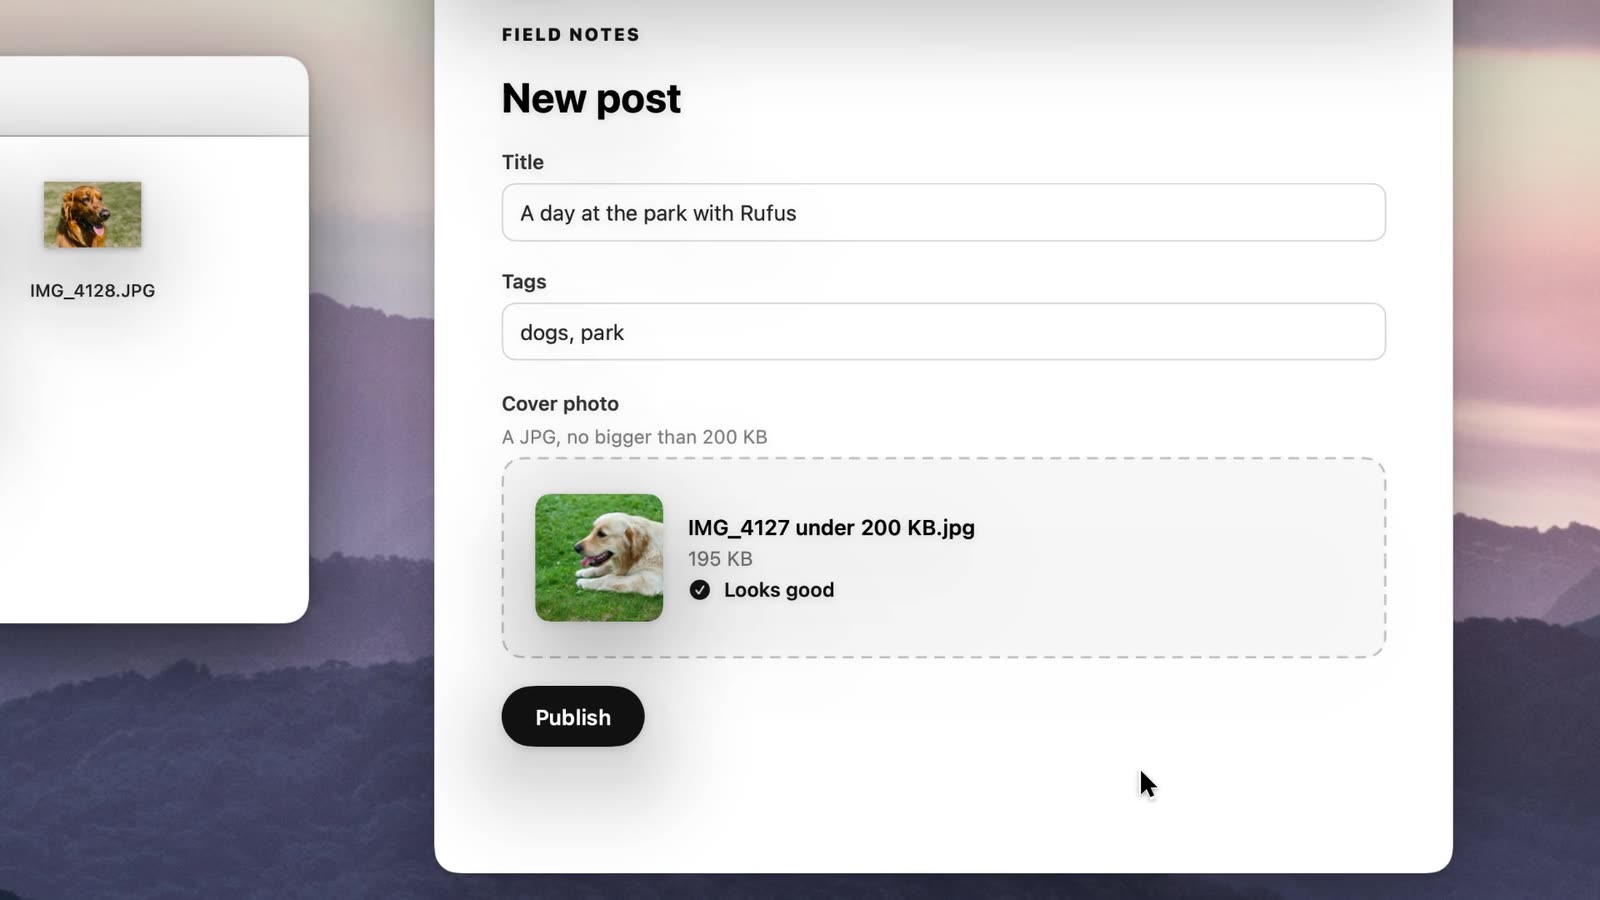
Done.
Good to know
- It aims a little under. For 200 KB, Drip aims at about 195 KB, so the size the form reads is under the limit too.
- It comes out as a JPG, unless the picture has see-through parts. Then it stays a PNG so they aren’t lost.
- If it can’t get under the limit without spoiling the picture, the notch says “As small as it goes without spoiling it”. Make the picture smaller first with Resize (1280 px or 640 px), then use Under 200 KB on the new file.
- Exact sizes in pixels, like 600 × 600 for a passport photo, need cropping. Drip’s Resize sets the longest side and keeps the shape. Crop in Preview first (Tools › Adjust Size, or select and Crop).
- Several photos at once: select them all and drag them together. Each gets its own new file.
- Posting it publicly? Remove location details makes a copy with no place, date or camera in it.
Without Drip
Preview can do it: open the photo, choose File › Export, pick JPEG, and move the Quality slider while you watch the File Size line until it’s under 200 KB. Drip saves you the trial and error, and the trip to Preview and back.